Quark
#
Modules #
quark/actionquark/appquark/bubblesquark/bufferquark/checkboxquark/cssquark/ctrquark/dialogquark/eventquark/fontquark/fsquark/hashquark/httpquark/indexquark/jsonbquark/keyboardquark/mediaquark/navquark/netquark/osquark/pathquark/pkgquark/screenquark/stepperquark/storagequark/testquark/typesquark/utilquark/viewquark/windowquark/wsquark/_bufferquark/_commonquark/_eventquark/_extquark/_md5quark/_sha1quark/_sha256quark/_utilquark/_watching
Quark v1.3.0 Documentation
Table of Contents
Quark #
Quark is a cross-platform front-end development framework (Android/iOS/Mac/Linux). Its core code is written in C++, with underlying OpenGL rendering. On top of that, it implements a streamlined layout engine and a JS/JSX runtime environment. Its goal is to develop GUI applications that balance development speed and runtime efficiency.
- From here,
Go API Indextakes you to theAPI Documentation Index.
 |
 |
 |
|---|---|---|
Source Code Build #
Build the required dependencies
Xcode/JDK/Android-SDK/python/nodejsSet the
ANDROID_SDKandNDKenvironment variablesPull down the dependent libraries and run
make sync
Compiling and installing qkmake and running make all or make install will take a long time.
Get the Source code from Github here.
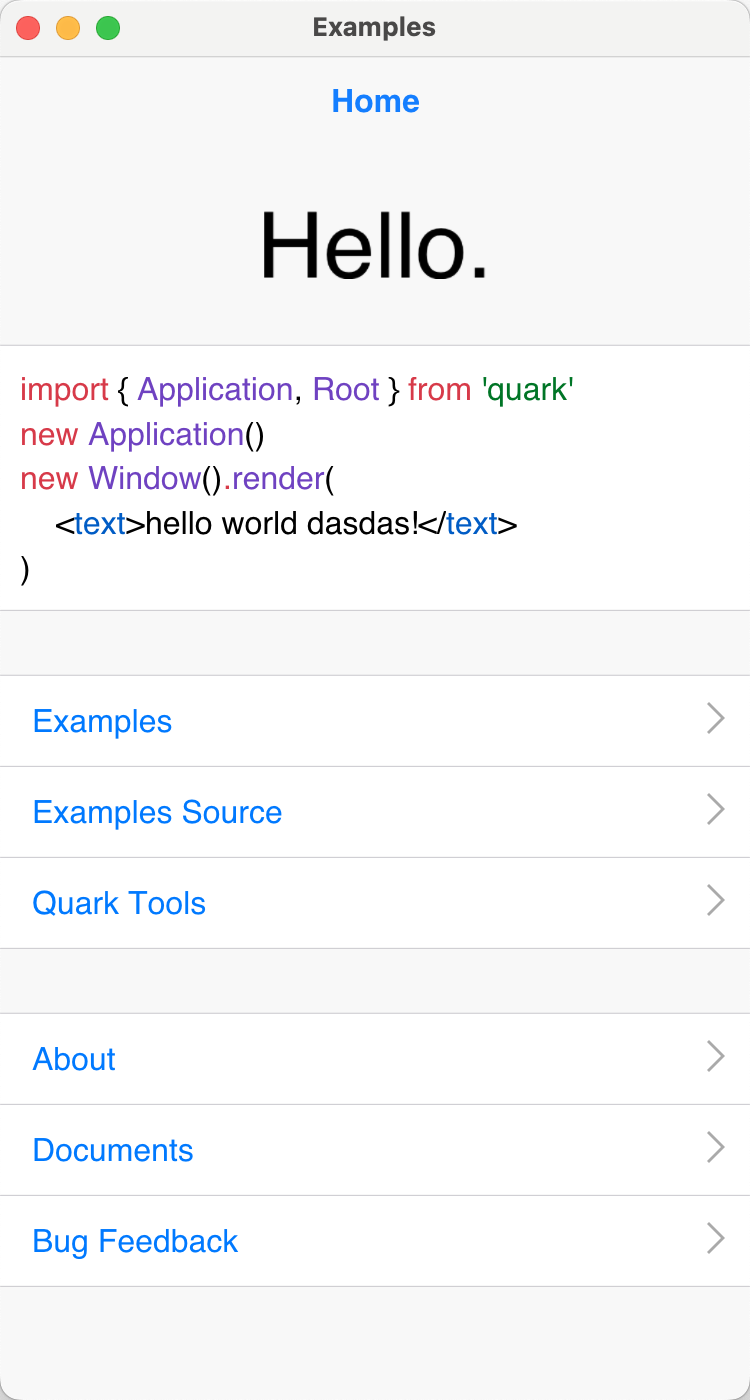
Simple Example #
This is a simple program that displays "Hello world" on the screen.
import { Jsx, Application, Window } from 'quark'
new Application();
new Window().render(
    <text value="Hello world" textSize={48} align="centerMiddle" />
);
You can get more detailed Examples
Getting Started #
If you've never used Quark before, you can start here and build your Quark program step by step.
Installing qkmake from npm #
First, you need to install the Quark toolkit.
- Install
qkmakeusing the nodejsnpmcommand. - Open Terminal and execute the following command:
# shell
$ sudo npm install -g qkmake
Running
qkmakerequiresnodejsandpython.Currently not supported on Windows; you need to use it on a Mac.
Creating a New Project Using the qkmake Tool #
Use the following shell command to create a new Quark project:
# shell
$ mkdir myproj
$ cd myproj
$ qkmake init
Building the Project #
This step compresses and packages the JavaScript code and resource files within the project.
If this is a new project, you can skip this step and proceed directly to the next one.
# shell
$ qkmake build
Export Project #
This step exports the Xcode or Android Studio project, as the final release will be a .apk or .ipa.
# shell
# export xcode ios project
$ qkmake export ios
# export android studio project
$ qkmake export android
After exporting the project, project/ios and project/android will be generated in the project root directory, corresponding to the Xcode and Android Studio projects, respectively.
Test HTTP Server #
qkmake provides a test HTTP server. Every time you modify ts or tsx code, it notifies devices connected to the server and sets the app's launch address to the debug server address. This allows the interface to automatically update when code changes are made, without having to restart the app.
When you export a project, the startup address is automatically set to this debug address. In most cases, you don't need to modify it unless you want to connect to a different location.
Start the server by executing the following code:
# shell
$ qkmake watch
# Start web server:
# http://192.168.1.200:1026/
# Watching files change:
View Layout #
Views describe all visible elements on the screen and are also responders to events triggered by the hardware and operating system.
For detailed API documentation, please visit View.
Here are all the View classes currently available and their inheritance relationships:
- ScrollView
- MatrixView
- TextOptions
- View
- Box
- Flex
- Free
- Image
- Input<TextOptions>
- Scroll<ScrollView>
- Text<TextOptions>
- Matrix<MatrixView>
- Sprite<MatrixView>
- Flex
- Label
- Box
This is a bit like HTML layout:
import {Jsx,Application,Window} from 'quark'
new Application()
new Window().render(
    <flex width="100%" height="50%" itemsAlign="centerCenter">
        <button
            minWidth="10%"
            maxWidth="40%"
            height="100%"
            paddingLeft={5}
            textLineHeight={1} // 100%
            textSize={18}
            textFamily="iconfont"
            backgroundColor="#f00"
            textWhiteSpace="noWrap"
            textAlign="center"
        >
            <label textFamily="default" textSize={16} textOverflow="ellipsis" value="ABCDEFGHIJKMLNOPQ" />
        </button>
        <text
            weight={[0,1]}
            height="100%"
            textColor="#00f"
            textLineHeight={1}
            textSize={16}
            textWhiteSpace="noWrap"
            textWeight="bold"
            textOverflow="ellipsisCenter"
            textAlign="center"
            value="Title"
            backgroundColor="#0f0"
        />
        <text
            minWidth="10%"
            maxWidth="40%"
            height="100%"
            textColor="#f0f"
            textLineHeight={1}
            backgroundColor="#0ff"
            textAlign="center"
            value="A"
            opacity={0.5}
        />
    </flex>
)
CSS Stylesheet #
This is very similar to
HTML/CSSstylesheets, but currently only supportsclassand notidortagName.The stylesheet data structure is actually a tree. Each named stylesheet can have child stylesheets, separated by spaces. There is no limit to the number of child stylesheets, but in theory, the more levels there are, the slower the query speed.
Each stylesheet can specify a
time(in milliseconds) to indicate the transition time to this stylesheet. If not specified, no transition occurs.
When a transition is triggered, an action is created and played.
- The stylesheet now has three pseudo-class states:
normal(when the cursor or touch leaves the cursor)hover(when the cursor enters the cursor or the focus enters the cursor)action(when the cursor is pressed or the touch leaves the cursor)
Here is how to write the stylesheet:
import { Jsx, createCss } from 'quark';
createCss({
    '.a': {
        width: 'match',
        textLineHeight: 45,
        textWhiteSpace: 'pre',
        textSize: 16,
    },
    '.a:normal': {
        textColor: '#0f0',
    },
    '.a:hover': {
        textColor: '#f0f',
    },
    '.a:active': {
        textColor: '#f00',
    },
    '.a .b': {
        textSize: 20,
    },
    '.a:normal .b': {
        time: 500,  // 设置一个过渡时间
        textColor: '#000',
    },
    '.a:hover .b': {
        time: 500,
        textColor: '#f00',
    },
    '.a:action .b:action': { // 这条规则无效,伪类不能存在子伪类
        time: 500,
        textColor: '#f0f',
    },
});
const vx = (
    <text class="a" >
        <label value="Hello A!" />
        <label class="b" value="Hello B!" />
    </text>
);
Actions #
What is an action? As the name suggests, it's the central hub for managing all actions in the runtime environment, or more simply, animations. It's also one of the core components of the entire framework, providing the ability to create, delete, and insert actions, as well as various operations on keyframes and transitions. Keyframe transitions can use cubic Bezier curves or built-in curves like linear/ease/easeIn/easeOut/easeInOut, similar to most mainstream frameworks and game engines.
How do actions work? #
How do actions drive smooth view movement? The principle is simple. Think of the action system as an independent system, completely unrelated to the view or rendering. The relationship between them is that changes in the action itself are ultimately reflected in the view. This process is accomplished by calling public methods or properties exposed by the view. It's a completely one-way process, and the view doesn't issue any instructions to the action.
For example, let's create a new keyframe action with two keyframes, and set the x value to change from 0 to 100 over one second. When an action changes, it calls the bound view's API to modify the view's layout properties. In this process, the view is passive, while the action is active.
import { Application, Window, Box, KeyframeAction } from 'quark'
var app = new Application();
var win = new Window();
var box = new Box(win);
var act = new KeyframeAction(win);
act.add({ x: 0, time: 0 });
act.add({ x: 100, time: 1e3/*milliseconds*/ });
box.width = 50;
box.height = 50;
box.backgroundColor = '#f00';
box.action = act;
box.appendTo(win.root);
act.loop = 1000;
act.play();
Action Types #
The following are several types provided by the framework and their inheritance relationships.
Action #
This is the base type for all actions. It's an abstract type and cannot be instantiated directly.
It provides some basic API operations, such as Play, Stop, and Seek. See the API manual for details.
SpawnAction #
As the name suggests, a parallel action runs its sub-actions in parallel. The duration of the longest sub-action is used as the duration of the action itself, while sub-actions with shorter durations wait for the end of the action or the end of a loop.
SequenceAction #
Sequential actions are relatively easy to understand. Sub-actions execute one after another, ending or starting a new loop after all of them complete.
KeyframeAction and Keyframe #
Keyframe actions are the core of the action system. All actions are implemented here, making them the fundamental unit of the action system. The previous SpawnAction and SpawnAction only have real meaning when they contain actions of the KeyframeAction type. Keyframe actions, in turn, contain the more fundamental element Keyframe. Keyframe properties have the same names as CSS properties and include all properties that can be changed on a view. For example, Matrix has an x property, and Keyframe also has an x property. However, if a property on a Keyframe doesn't exist on a view, then that property will have no effect on the view. For example, there's no width property on a View, so changes to width won't affect the View. However, if the bound view is a Box, changes to width will affect it, similar to a CSS style sheet.
See the following example:
// This is a valid action
var act1 = new KeyframeAction(win);
var box1 = new Box(win);
box1.backgroundColor = '#f00';
act1.add({ width: 10, height: 10 });
act1.add({ width: 100, height: 100, time: 1e3 });
box1.action = act1;
act1.play();
// This is invalid
var act2 = new KeyframeAction(win);
var view = new View(win);
act2.add({ width: 10, height: 10 });
act2.add({ width: 100, height: 100, time: 1e3 });
view.action = act2;
act2.play();
View.onActionKeyframe and View.onActionLoop #
These two events are generated and sent by actions.
View.onActionKeyframefires when an action reaches a keyframe. Because the rendering frame rate is fixed, the event is always triggered when the frame is rendered, so it may be earlier or later than the ideal time. This delay is stored in thedelayfield of the event data. Early is a negative number, and late is a positive number.View.onActionLoopfires at the beginning of an action loop; it is not triggered for the first time an action is executed. It also has a delay, which is also recorded indelay.